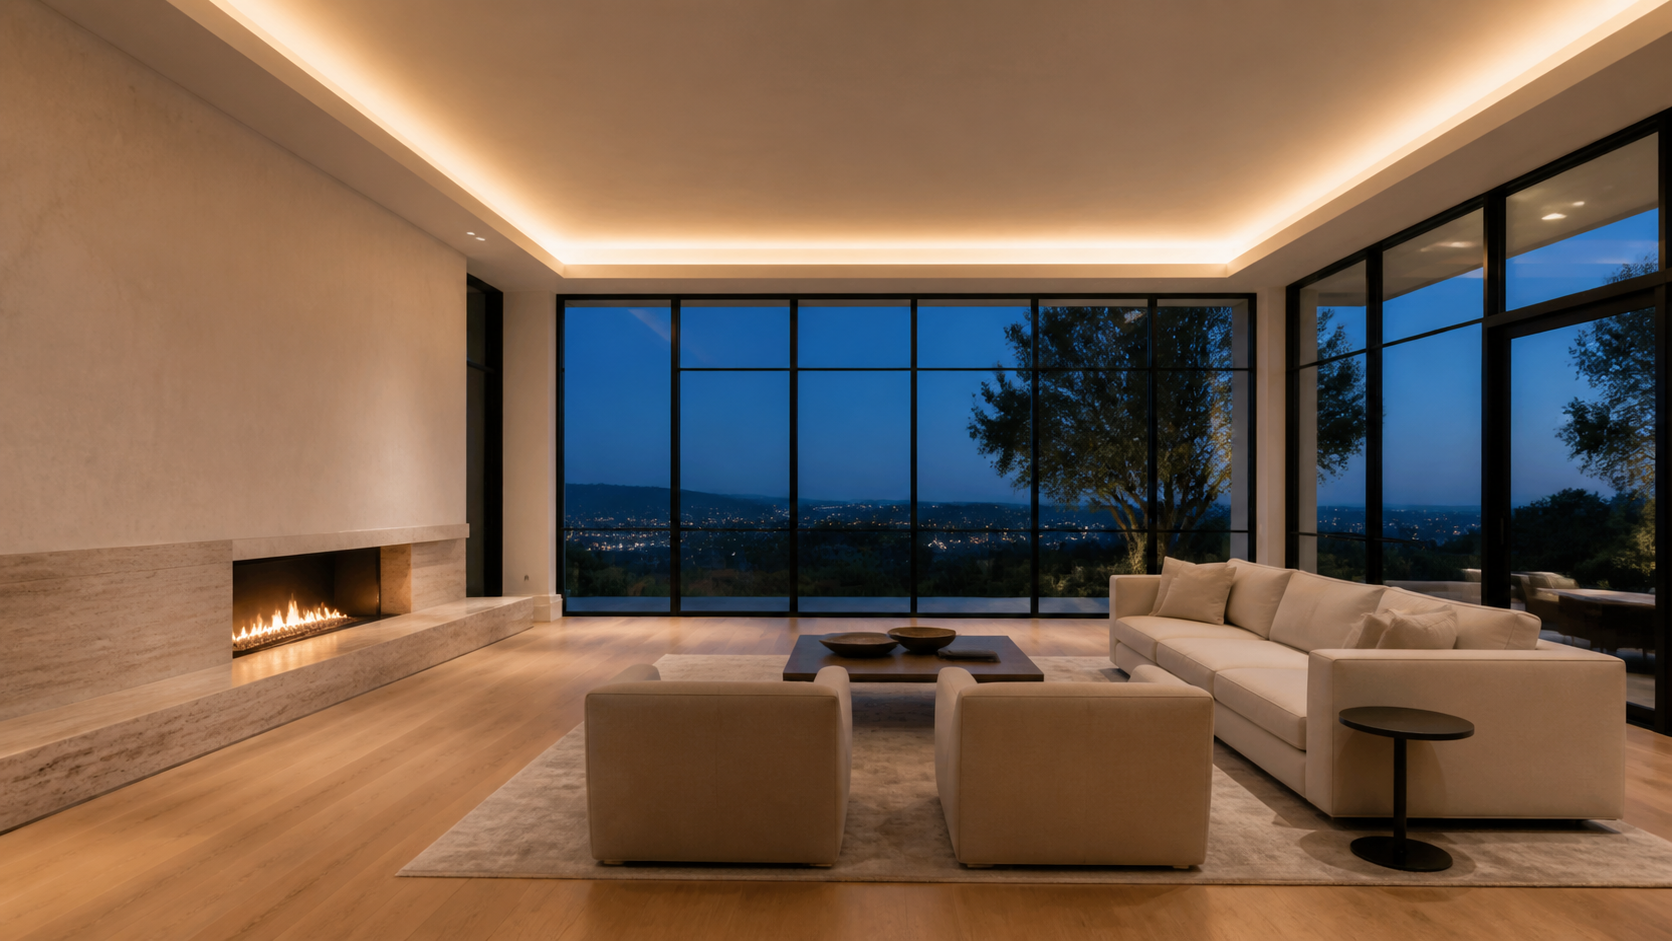
Layered lighting is the practice of giving every room four separate layers of light — ambient, task, accent, and decorative — each on its own switch or scene. It is the cheapest luxury in a custom home and the most common thing homeowners regret skipping, because once drywall is up, adding a circuit means opening a ceiling.
In our work, lighting is not a fixture-shopping exercise at the end of the project. We plan it alongside the floor plan, because where light comes from decides how a room feels long before anyone picks a pendant.
Key Takeaways
- Four layers per room: ambient for general light, task for work surfaces, accent for architecture and art, decorative for the fixtures you actually look at.
- One switch per layer. A single overhead can on a single switch is the signature of a builder-grade home.
- Aim for 2700K–3000K color temperature and a CRI of 90 or higher — cooler, cheaper LEDs make warm woods and stone look gray.
- Dimmers on nearly everything, and confirm the driver and dimmer are a compatible pair or you will get flicker and buzz.
- Plan the lighting before framing. Recessed cans, cove details, and integrated millwork lighting all need to be coordinated with structure and ductwork.
The Four Layers, Explained
Ambient: the light you stop noticing
Ambient light fills the room. The mistake is treating a grid of recessed downlights as the whole answer — downlights alone create harsh pools and dark walls, and they flatten faces. We prefer to soften ambient light by bouncing it: a cove at the ceiling perimeter, a lit tray, or wall washers set close enough to the wall to graze it.

Task: light where hands work
Task light is aimed at a surface: countertops, a desk, a reading chair, the mirror in a bathroom. Two rules cover most of it. Put kitchen downlights over the front edge of the counter, not the center of the room, so you are not standing in your own shadow. And in bathrooms, light faces from the sides at roughly eye height rather than from a single fixture overhead.
Accent: what makes the architecture read
Accent light is the layer that separates a designed home from a lit one. Graze a stone wall from 6 to 10 inches away and every joint and texture comes forward. Uplight a specimen tree in the courtyard and the glass wall stops being a black mirror at night. Aim adjustable fixtures at art at roughly 30 degrees to avoid glare on the frame.

Decorative: the fixtures you look at
Chandeliers, sconces, and pendants are jewelry. They should carry only a fraction of the room's actual output, because a fixture bright enough to light a room is a fixture too bright to look at. Once the other three layers do the work, decorative pieces can be dimmed to a glow and read as sculpture.
Room-by-Room Priorities
- Kitchen: task light over counter fronts, undercabinet strips with the diffuser hidden by a shadow-line detail, and a dimmable island fixture.
- Primary bath: side-lit mirrors, a separate dim night circuit near the floor, and a sealed damp-rated fixture over the shower.
- Dining: one dimmable pendant or chandelier centered on the table, plus accent light on the surrounding walls so the room does not tunnel.
- Stairs: light the treads or handrail from a low or concealed source, never a single high fixture that throws shadows down the stair.
- Primary bedroom: no overhead downlights over the bed. Sconces or pendants at the nightstands with local switching.
- Home office: indirect ambient plus a task lamp; avoid fixtures that appear as reflections in a monitor or on a video call.

Controls: Scenes Beat Switch Banks
Four layers per room can turn a wall into an airport cockpit if you switch each one separately. The fix is scenes — a small keypad with three or four named presets like Everyday, Dining, Late Night, and Off — with the layers dimmed to preset levels behind the scenes. Homeowners get fewer buttons and better light at the same time.
Specify the dimming protocol early. Line-voltage dimming, 0–10V, and DALI all behave differently, and a fixture is only as good as the driver-and-dimmer pair behind it. Flicker at 10 percent output is almost always a mismatch, not a defect.
Lighting a Home in a Hot, Bright Climate
Along the Gulf Coast, the daylight half of the equation matters as much as the fixtures. Big west-facing glass delivers punishing late-afternoon glare and heat gain, so we shade it architecturally — deep overhangs, exterior screens, a covered loggia — rather than relying on interior blinds that stay closed all summer.
Humidity drives fixture selection outdoors and in. Covered patios and outdoor kitchens need wet- or damp-rated housings and corrosion-resistant finishes, and recessed cans in insulated attics should be airtight and IC-rated so conditioned air is not leaking into 130-degree attic space through your lighting plan. If you are weighing these choices for a specific site, start a conversation with the studio.

Frequently Asked Questions
How much does a layered lighting plan add to a custom home budget?
The design coordination is minor; the cost sits in fixture count and quality. On a high-end custom home, lighting typically lands in the low single digits as a percentage of construction cost — and the layering itself is mostly free if it is decided before framing. Retrofitting the same result after drywall is what gets expensive.
What color temperature should I use throughout the house?
We hold most interiors at 2700K, and 3000K where a cooler read helps — a stark white bathroom or a garage and shop. Keep it consistent within sightlines; two color temperatures visible at once is the single most obvious lighting error in a finished house. Ask for a CRI of 90 or better so wood, stone, and skin tones stay true.
Are recessed downlights out of style?
Not out of style — just over-used. The current direction is fewer, smaller apertures placed with intent, paired with indirect and concealed sources. A ceiling with eight scattered cans reads cheaper than the same room with three precise ones and a lit cove.
When in the design process should lighting be decided?
During design development, well before permit. Coves, integrated millwork lighting, and low-level stair details all affect framing, ceiling heights, and mechanical routing. You can see how this coordination plays out across finished projects in see our portfolio.